Setting up SSL for an ElasticBeanstalk Application
Posted on Sun 01 January 2017 in Articles
In my last article I discussed how I created an Alexa application using AWS ElasticBeanstalk. I left off stuck in the last step of getting the site set up with a SSL certificate from a trusted CA.
In general AWS makes the process of setting up SSL for a site pretty painless, but there were a few rather sensible decisions I made that made the process more complicated. I'll break this article down into the problems I ran into and how I solved them.
Problem 1: Static IPs, elastic services, and DNS records
I had originally purchased a domain name from 1and1, mostly since they offer domains at a very low price, esp. for the first year. The .info domain I set up for the project cost less than $2 for the first year! I had previously purchased a few domains through 1and1 for applications on BlueHost (a long time ago) and Google App Engine, and everything had worked fine.
However, when I went to use my domain name from 1and1 with ElasticbeanStalk, I quickly ran into a problem. The issues came because:
- 1and1 does not allow you to enter CNAME records (which can point to another domain name) for top level domains. They only allow you to point your domain to a static IP.
- AWS ElasticBeanstalk applications (and anything that sits behind an Elastic LoadBalancer) do not have a static IP address. Instead you are provided with a host name that is a subdomain in the form:
<appname>.<region>.elasticbeanstalk.com.
I was hoping I would be able to attach an Elastic IPAddress to the load balancer, but it appears this is not possible.
In the end, I didn't find a good solution for using my 1and1 domain that would still allow me to use SSL. So I ended up buying a domain name from AWS.
Once I did that and set up a Hosted Zone on Route53 for this domain, I was able to resolve http://www.biblescholarsearch.net/ to my application.
Problem 2: Issuing SSL certificates requires domain name validation
The AWS Certificate Manager service is pretty awesome. I described in my last article how easy it was to attach a self signed certificate to my ElasticBeanstalk Application, and it is really cool that Amazon provides auto-updating SSL certificates for free now. However, if you want to use one of these "real" certficates for a domain, Amazon needs to take an additional step to verify ownership of that domain.
The way Amazon validates ownership of a domain when issuing a SSL cert is by sending an email to the registered owner of a domain. They lookup the email address of this user using data in the icann whois database. However, if you take the approach recommended by Amazon and opt for whois privacy when registering your domain, that contact information is private. So Amazon will instead fallback to trying to validate ownership of your domain by sending an email to the following addresses:
- administrator@your_domain
- hostmaster@your_domain
- postmaster@your_domain
- webmaster@your_domain
- admin@your_domain
If you haven't set up email for your site yet, which is probably the case, this is going to cause a problem. Once I figured this out, I was able to set up email for my domain by following a few more steps.
-
Set up an email receipt rule for my domain on SES. I set mine up to send my emails to the SNS topic for my Elastic Beanstalk application. That topic is automatically created for you when you create your Elastic Beanstalk application. Note that setting up the receipt run on SES also creates MX records in the Route53 Hosted Zone for your domain, so you don't have to create those yourself.
-
Add a SNS subscription to send email notifications to my gmail address.
After that, emails to anybody@biblescholarsearch.net were forwarded to my gmail. After that, I just had to resend the certificate validation request via the ACM dashboard, click a link in the email that was routed to my gmail, and my certificate was approved.
Problem 3: You have to actually change out the SSL cert used inside the Elastic Beanstalk control panel
This is kind of a "duh" but after I saw the SSL cert was validated I excitedly went to the browser and typed in my https domain name, hit enter, and got a "untrusted connection" page. I was thinking that maybe it takes time for this information to propagte, but then I remembered that, no, that's how DNS works, not SSL.
After thinking for another 10 seconds I realized the application was still using the self signed certificate I has created for my *.elasticbeanstalk.com domain name. I went into Configuration > Load Balancing on the Elastic Beanstalk control panel and changed to the new SSL certificate. After a few minutes of updating, I could hit http://biblescholarsearch.net/ and get validated SSL. Hooray!
Problem 4: Wildcard subdomains
About 10 seconds into celebrating I realized that while http://biblescholarsearch.net/ worked, http://www.biblescholarsearch.net/ did not. I read a little more on the certificate manager docs and saw that you can add multiple domains to a certificate, including wildcards.
This required some changes both to Route53 (so the top level domain and the www subdomain were both routed correctly) and the certificate (so that both the top level domain and the subdomain were understood to be part of the same certificate). This took a couple steps because, while the Route53 hosted zone is editable, the SSL certificate is not.
- Add an A Alias record (pointing back to my ELB app) for my
www.prefixed address in my Route53 hosted zone. - Create a new SSL Cert including the wildcard entry (so both
biblescholarsearch.netand*.biblescholarsearch.net). - Remove the old SSL cert from my ELB app, because AWS won't let you delete a certificate that is actively in use. This required an update.
- Assign the new SSL cert to the ELB app. Another update.
After that, both http://biblescholarsearch.net/ and http://www.biblescholarsearch.net/ has validating SSL credentials.
So it was a little more involved than I planned, and I had to throw away a domain name while I was setting things up. If I had to do things again, this is what I would change.
- Do domain registration through AWS (or at least via a provider that allows top level CNAME records).
- Include wildcard records in the certificate request.
- When registering, keep the domain name record public at first to make validating domain ownership easier.
I hope this was helpful! Feel free to reach out to me on twitter (@turtlemonvh) with any questions.
UPDATE: 2017-01-14
So even with what I had set up, I still encountered another problem. The application seemed to work for a few days after 12/31 then stopped working the evening of 1/3. I started seeing the following image in my Alexa app when interacting with Bible Scholar:
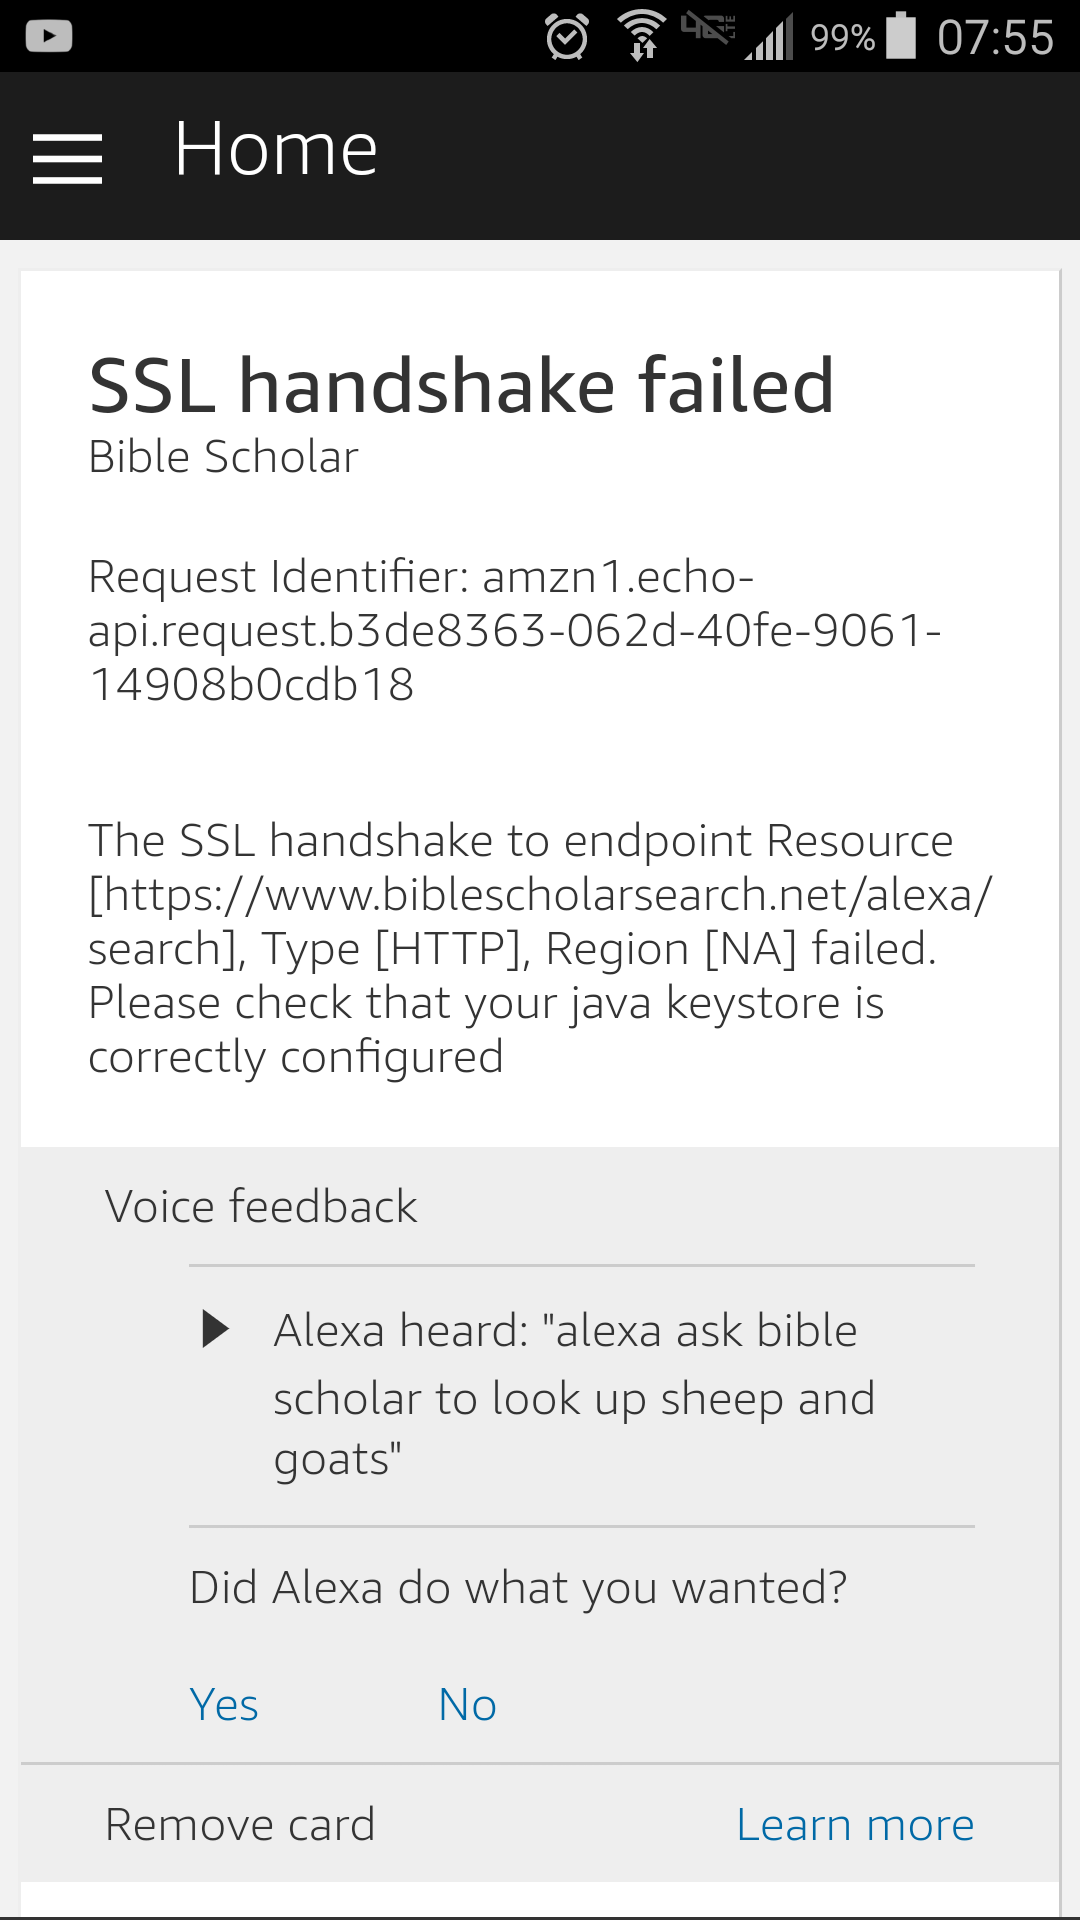
Early on 1/4 I got a notification email that the application had failed certification. Since my application was validating SSL in a browser, via curl, and every other method I tried, I assumed it must be some type of temporary error on their end. I asked about this on the developer message boards and also sent a inquiry through the contact form.
A few days ago I got responses via both channels. Similar to the issue with the self signed certificate, the solution ended up being changing a toggle option in the "SSL Certificate" page. Here are the options you are usually presented with on that page.
Please select one of the three methods below for the web service:
1. My development endpoint has a certificate from a trusted certificate authority
2. My development endpoint is a sub-domain of a domain that has a wildcard certificate from a certificate authority
3. I will upload a self-signed certificate in X.509 format. Learn how to create a self signed certificate.
Some of my earlier issues with self-signed certs came from selecting option 3, which works fine for testing but does not allow you to submit the application. My issues this time came from selecting option 1 instead of option 2. The following is what my certificate looks like in the dashboard of AWS Certificate Manager:
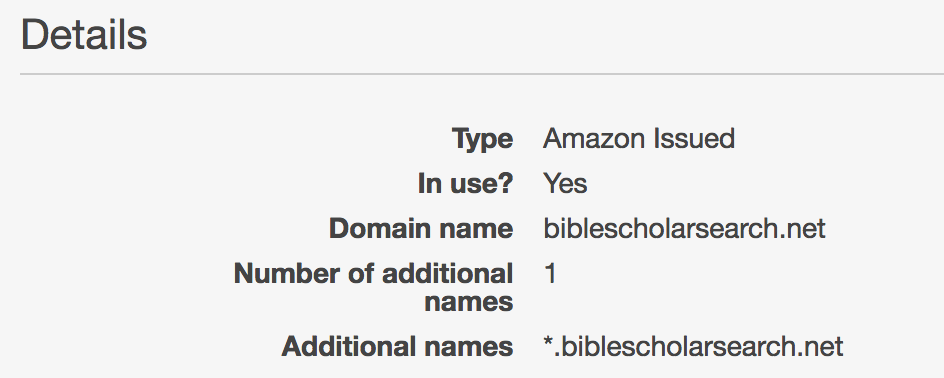
Even though I submitted my application endpoint as https://biblescholarsearch.net/alexa/search, this apparently still qualifies as a subdomain under their terminology. Switching this toggle button made the requests work for both "https://biblescholarsearch.net/alexa/search" and "https://www.biblescholarsearch.net/alexa/search" endpoints.
My takeaways from all this are:
1. Amazon could afford to spend a little more time to improve the usability of their skill submission form.
It would be especially nice if there was an option to quickly scan an application and report issues in a nice format that corresponds to their rules and policies for new apps.
2. Amazon has a few "interesting" security concerns
They seem to be particularly concerned about man in the middle attacks, since they require
- apps must use an Amazon-trusted SSL certificate
- apps must verify requests are from the Amazon Alexa service, including SSL cert checks and request timing checks
- apps must verify requests are intended for your application specifically
These concerns make sense for certain classes of applications, but for applications like mine (which doesn't store user state or have any concept of accounts) this does feel a little heavy handed. In my case, thankfully, some golang community members have been working on these problems and there is a nice reference application that I was able to "borrow" some of these checks from. Still, this takes a reasonable amount of time to get right.